
Air-Drying Your Herbs for Year-Round Flavor


Growing herbs in your garden during the summer is a wonderful way to enjoy fresh flavors and aromas. But have you ever thought about preserving those herbs so you can enjoy them all year long? Store-bought herbs often lack the vibrant taste and potency of home-grown ones. Air-drying your herbs is a simple, natural way to keep their flavor alive through the colder months.
How to Air-dry Your Herbs at Home
Drying herbs by air is an easy process that anyone can do. Here’s how I do it step-by-step:
Cut the herbs: Choose healthy stems and cut them in the morning after the dew has dried.
Tie in bundles: Gather a small bunch of stems and tie them together with twine. Keep the bundles thin so air can circulate well and dry the herbs evenly.
Hang upside down: Find a warm, dry spot in your home with good air circulation. Avoid direct sunlight because it can fade the herbs’ color and flavor. I like to hang my bundles on hooks or string a rope across a wall to clip them.
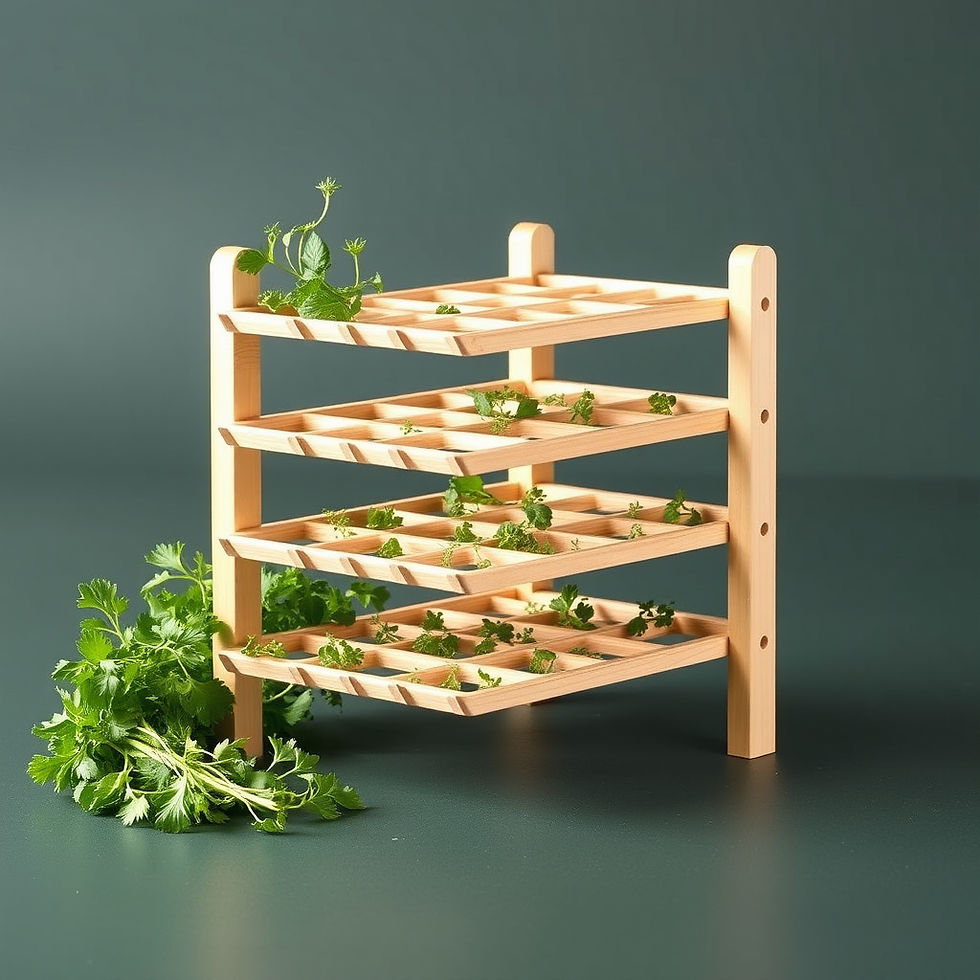
Use a drying rack: If you prefer, you can use an herb drying rack instead of hanging the herbs. These racks allow you to spread out the herbs and turn them occasionally for even drying. You can buy one or make your own.
Wait patiently: It usually takes between 5 to 10 days for herbs to dry completely. You’ll know they’re ready when the leaves crumble easily between your fingers.
Storing Your Dried Herbs
Once your herbs are dry, you can store them in a way that keeps their flavor fresh for months:
Whole or crushed: You can keep the herbs whole or lightly crush them with a mortar and pestle. Crushing releases the oils and aroma but do it gently to avoid losing flavor.
Use mason jars: Store your dried herbs in clean, airtight mason jars. Label each jar with the herb’s name and the date you dried it. This helps you keep track of freshness.
Keep away from light: Store the jars in a dark place like a pantry or cupboard. Light can degrade the herbs over time.
Check freshness: Dried herbs usually last between 6 and 12 months. When you open a jar, give it a sniff. If the scent is strong, the herbs are still good to use.

Why Air-drying Herbs Is Worth It
Air-drying herbs is a gentle way to preserve their natural oils and flavors. Unlike drying in an oven, air-drying keeps the herbs’ color and aroma intact. This means your winter dishes will taste fresh and vibrant, just like summer.
Plus, drying your own herbs saves money. Store-bought dried herbs often lose their flavor quickly and need to be replaced. When you dry your own, you get the best quality and can enjoy your garden’s bounty all year.
Another benefit is the satisfaction of using something you grew and preserved yourself. It connects you to the seasons and your food in a meaningful way.
Tips for Drying Different Types of Herbs
Not all herbs dry the same way. Here are some tips for common herbs:
Thyme and rosemary: These woody herbs dry well in bundles or on racks. They take a bit longer, about 10 days.
Basil and mint: These leafy herbs dry faster, usually in 5 to 7 days. Keep bundles thin to avoid mold.
Parsley and cilantro: These herbs have more moisture and can be tricky. Use a drying rack and turn them often.

Using Your Dried Herbs
Once your herbs are dried and stored, you can use them in many ways:
Add them to soups, stews, and sauces for a burst of flavor.
Sprinkle on roasted vegetables or meats.
Mix into salad dressings or marinades.
Brew herbal teas for relaxation or digestion.
Remember, dried herbs are more concentrated than fresh ones. Use about one-third the amount of dried herbs compared to fresh in recipes.
Final Note
Drying your herbs at home is a simple, rewarding way to enjoy your garden’s gifts all year. It takes just a little time and care, but the results are worth it. You’ll have flavorful, potent herbs ready to brighten your meals and support your well-being through the seasons.
Happy drying!


Comments